Showing posts with label embellishments. Show all posts

Saturday, 18 December 2021

Winter scene on Kraft!

Hello to all!

Happy Sunday!

Imagine, just a week left to celebrate Christmas!

Yayyy! In Top 3!

https://allsortschallenge.blogspot.com/2021/12/good-afternoon-to-you-all-we-hope-you.html

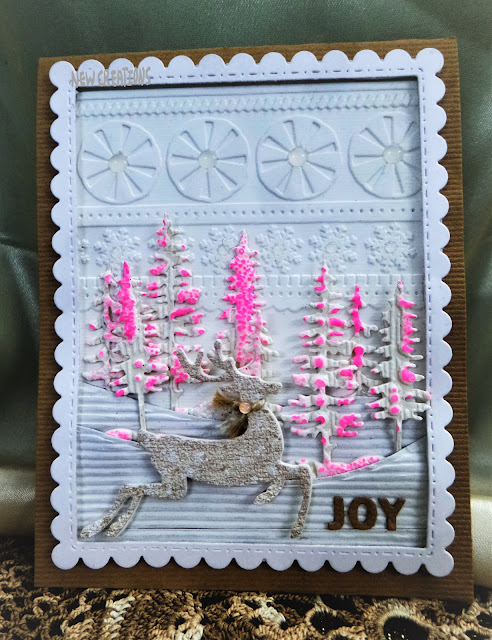
Here I made another card with lots of white and vintage feel on it with some pink Christmas trees and a cute reindeer!


For the winter scene background, I started with a Kraft card base. Embossed a white panel. Die-cut some rectangle scalloped frame, some corrugated winter hills. 


Die-cut a reindeer from a snippet of the textured light brown sheet.


Now created the whole background of the winter scene. Die-cut some Christmas trees from the snippets of an embossed white sheet. and inked some raised parts with neon pink ink.


Added the letters JOY.


Tied a jute twine as a muffler to the reindeer neck.


Embellished it with some semi-transparent iridescent baubles.


Some more pics:


Something different from my style. Hope you all like it!

Enjoy your day and keep crafting!

Supply List

Cardstocks: Kraft textured CS, Smooth white CS, Coconut white CS

Textured sheets: White corrugated sheet, light brown textured sheet, an embossed sheet in white from my stash

Embossing Folder: Swirls and ribbon set from Sizzix

Dies: Winter trees and Reindeer from Dress my craft store; Nested rectangles from Tattered lace; scalloped stitched rectangles from Gina Marie designs; Borders 1 from paper smooches; JOY word- Holiday Tiles cutaways from Winnie & Walter

Neon Ink: Pink

Embellishment: Fortune teller from Trinity Stamps

Glossy accents

Jute twine

Would love to join these fun challenges:

https://letssquashit.blogspot.com/2021/12/challenge-15-any-embossing-folder-any.html


Monday, 8 November 2021

Merry and Bright

Hello to all!

First I die cut the Centre Burst die out of black CS and used the outline part as a stencil. I placed this stencil on my glossy white sheet. Created a distressed ink background in pink hues by squirting victorian velvet and pink raspberry inks onto my craft sheet and blending them. Then added some water droplets.


After drying added some white splatters.


 I once again die cut my center burst die out of raspberry pink glitter sheet. 


 Placed that outlined piece dies on my stencilled background as shown in the pic. Cut the extra part outside of the panel.

Added that panel to white CS base.


The sentiment is so perfect for the Christmassy feel on it! 
The glitter outlined die .........really made the sun rays sparkle. In the end, tied up a twine around my white panel with a bow. And added some Embellishments.
Happy crafting!

Trinity Products 

Stand Alone Die: Slimline Center Burst Die set from Trinity Stamps

Embellishment Mix: Bubble Blow Out Flat Back from Trinity stamps

Other Products

Cardstocks: White Speciality Glossy CS from DCAM store

Glitter CS: Brights a pack of 24 sheets from Little Birdie

Cardstocks: White Speciality Glossy CS from DCAM store

Glitter CS: Brights a pack of 24 sheets from Little Birdie

Distress Ink: Pink Raspberry, victorian velvet

Stamp: Most Wonderful stamp set from Uniko stamps

Archival Ink: Jet black

Acrylic Paint: snow white from Little Birdie

Twine: baby pink double shade from American Crafts

Would love to join these fun challenges:

http://kaartjes-inspiratie-challenges-blog.blogspot.com/2021/11/kic-start-uitdaging-160-kerst.html

http://craftyhazelnutschristmaschallenge.blogspot.com/2021/11/chnc-challenge-567.html


Saturday, 9 October 2021

Festive card with embroidery stitching!

Hello everyone!

Happy Saturday!

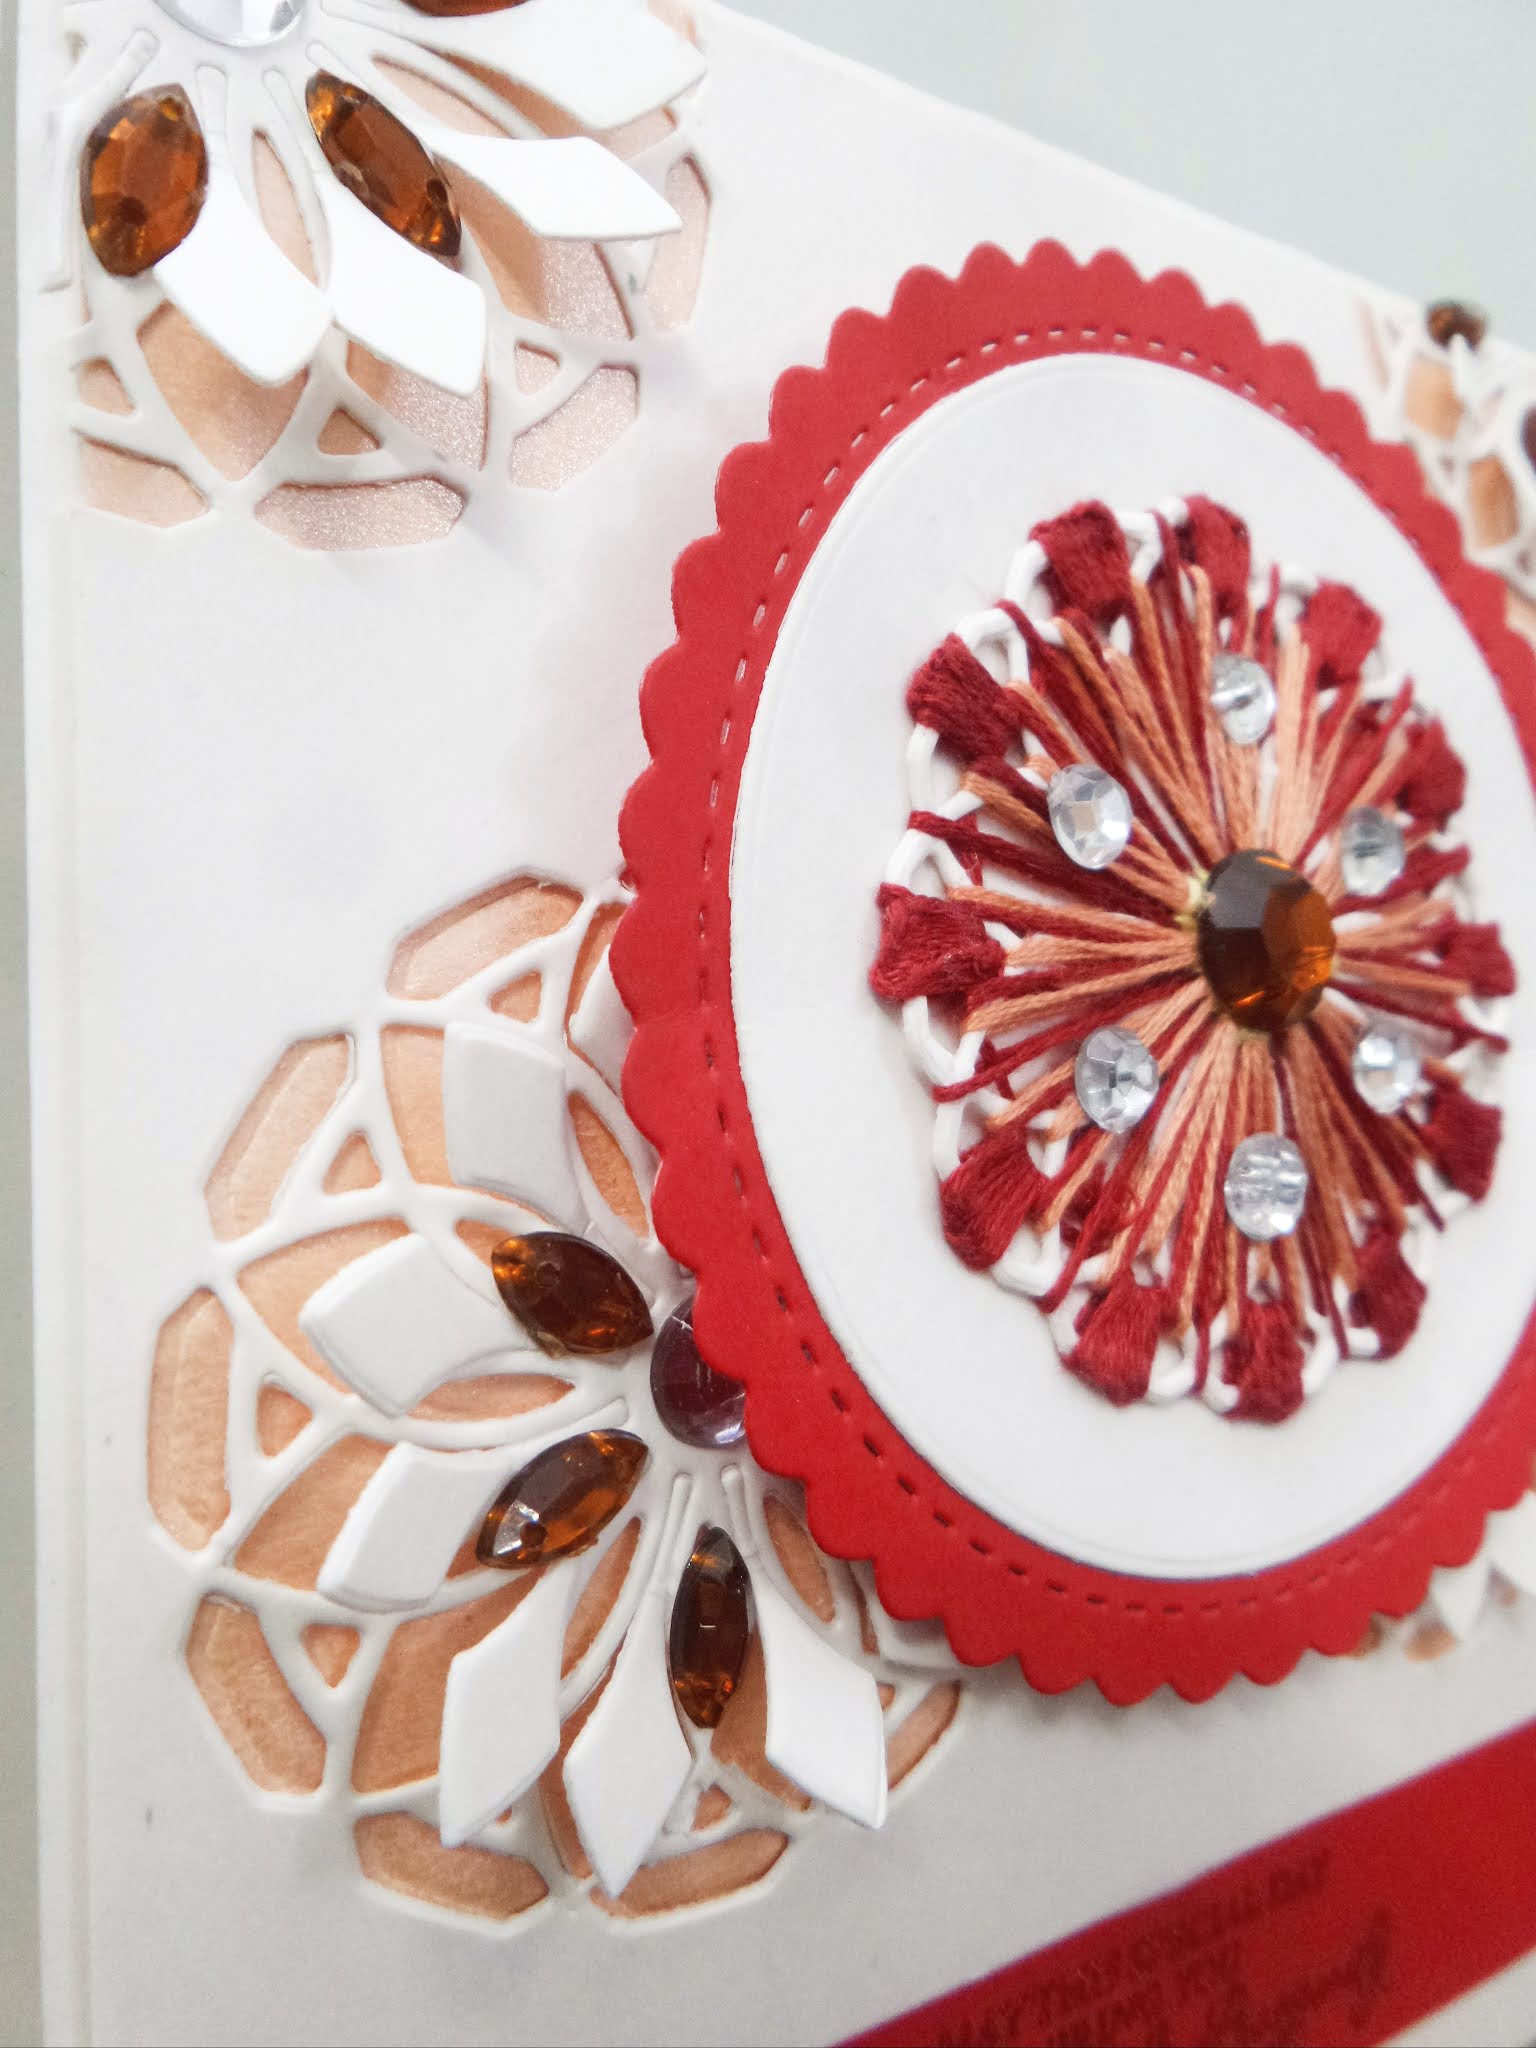
I created a festive stitched dimensional card this time with an autumn colors feel on it!


I started by die cut a decorative accent in white CS. And stitched with red embroidery thread as shown below. This die is perfect for making cards, decor and more.


2nd step, again stitched with red embroidery thread for more decorative design.

Then I stitched more with a peach coloured embroidery thread. I added some rhinestones to it. I added some foam tape to the back of my scalloped red circle and matted it on a white circle.

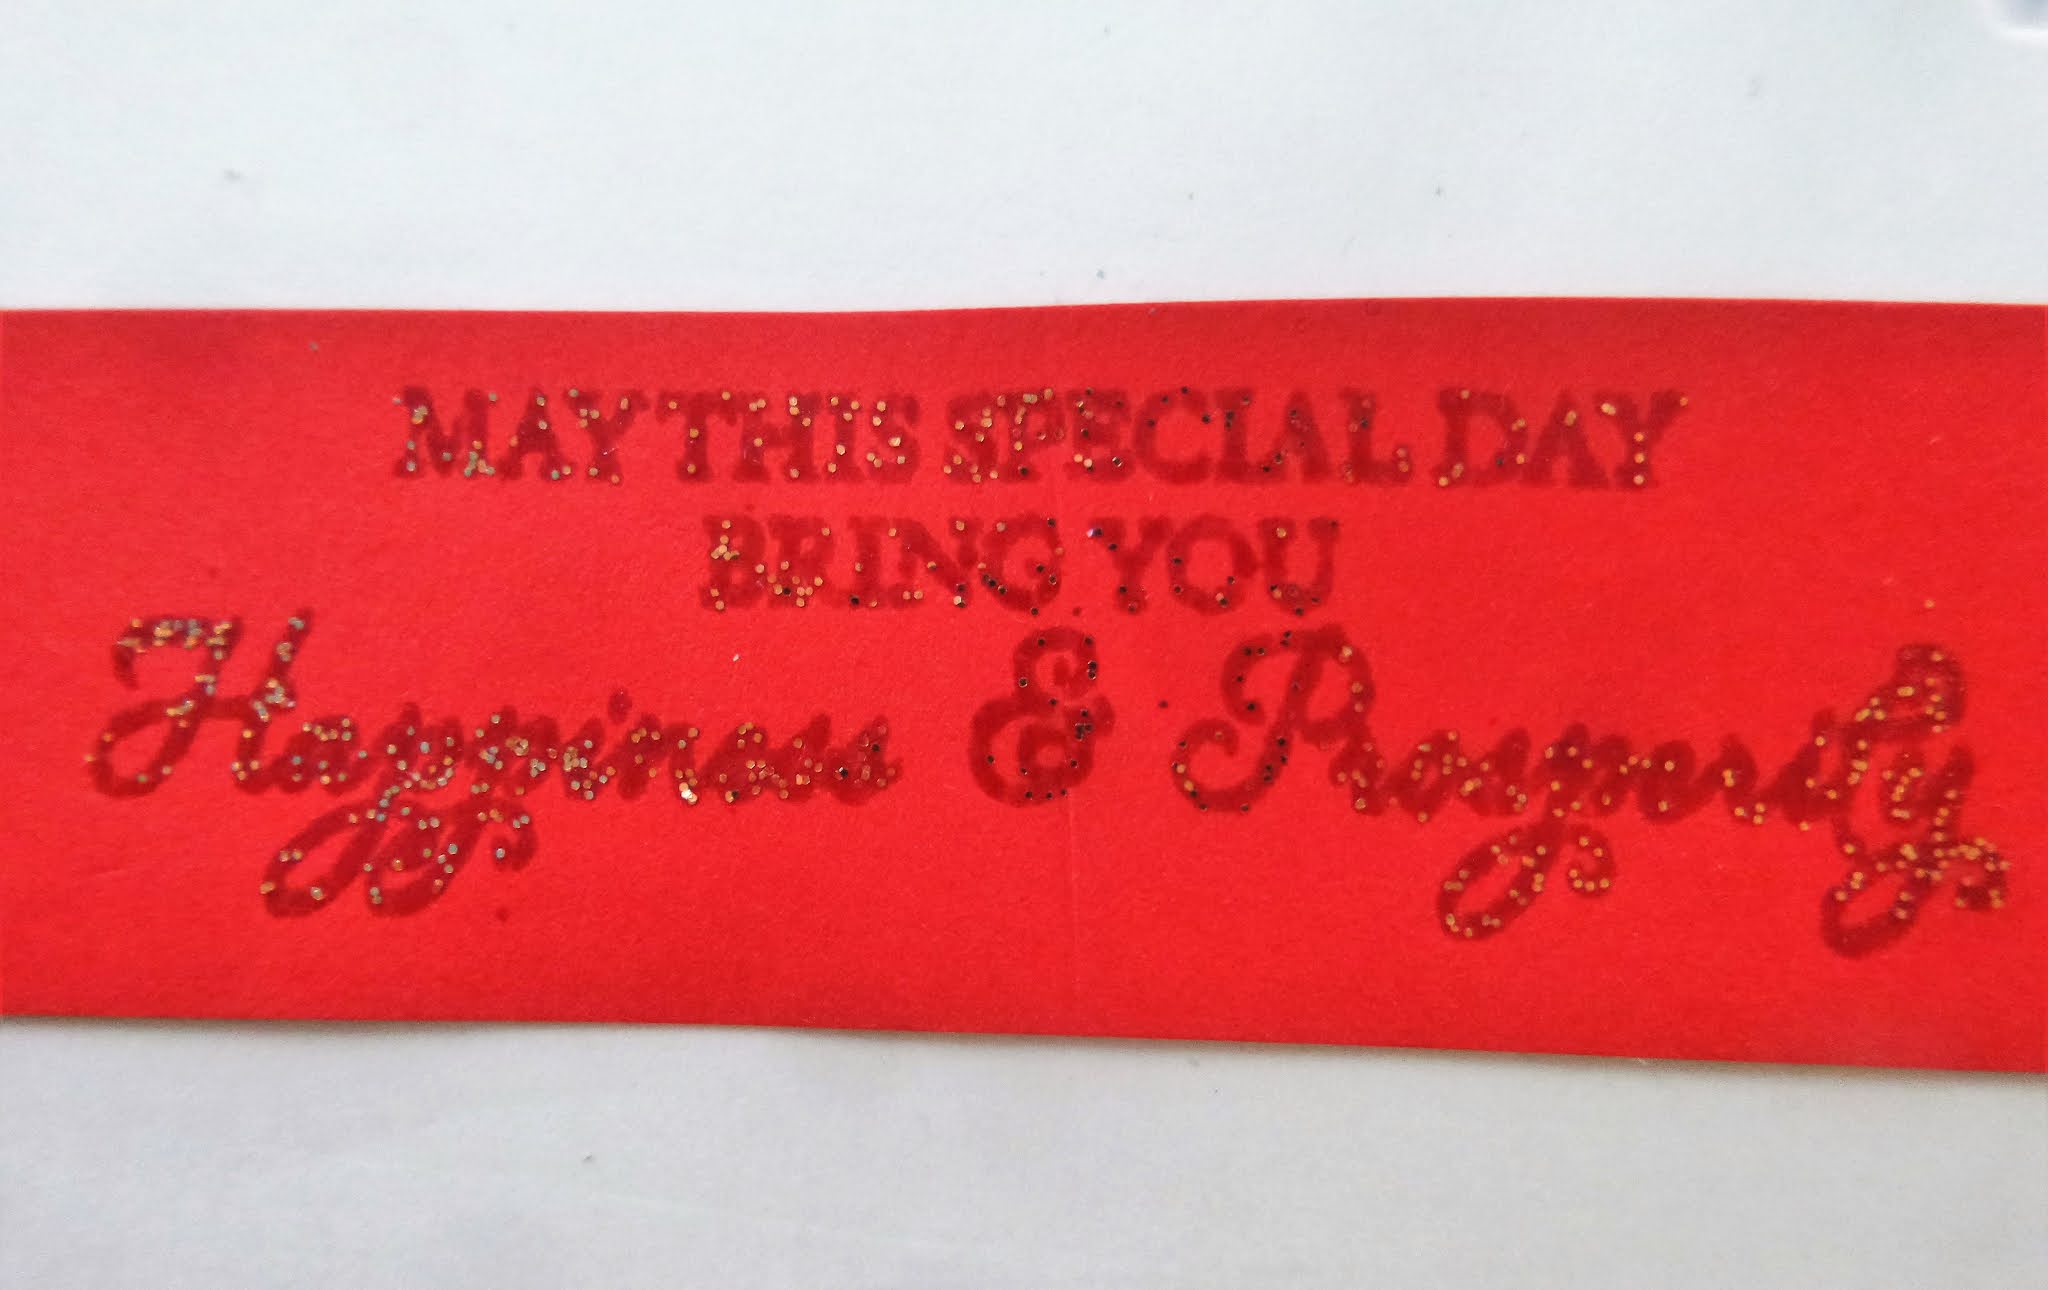
For my background panel, I die cut the same decorative accents and flip-up some of the parts out of it as shown in the below pic. Adhered a red stripe with a festive saying on it which is heat embossed.

Can you see the sparkles on the sentiment, its impact is more beautiful in real.

Now on a white basic panel added a shimmering sheet in peach color and adhered my top panel on it. As a finishing touch, I added some rhinestones too as an embellishment for some sparkle on it.


Hope you all enjoyed the process!

Happy crafting!

Supply List

Cardstocks: whisper white CS and red CS

Pearl shimmer CS: Peach Metallic from DCAM store

Dies: Decorative accents #9 and scalloped stitched circles from DCAM store and nesting circles from WRMK

Stamp: Ganesha from Mudra Stamps 

Embossing Powder: Tangerine Dream from Wow

Embroidery Threads and rhinestones are from my stash

Would love to join these fun challenges:

http://allsortschallenge.blogspot.com/2021/10/week-645-embellish-it.html

https://unikostudio.blogspot.com/2021/09/uniko-challenge-67-anything-goes.html


Wednesday, 29 August 2018

Cute as a button Baby Layout!

Hi everyone!

I 'm back to share with you my baby layout for DCAM blog inspiration. A soft, delicate, little vintage page in light pink and blue shades, made with lots of collectables, chipboard elements,  fussy cut flowers, shaker element, stamping and dies.


I think you can imagine how excited I'm, presenting my first scrapbooking baby layout!
I fell in love with Bundle of Joy collection critter sheet! I love the cute baby images, baby related elements, glossy print, colors, the flowers:D


God's most beautiful thoughts bloom into children! Babies are always such a miracle that brought joy to our lives with such a little body........My sweet baby layout symbolizes the word Yesterday as the past memories of the times gone by...... every dream come true with all happiness, love, affection, made our life complete! For this layout, I choose a sweet baby pic with the vintage feel on it!

The cute baby images inspired me to try something different this time! I fussy cut every little piece of this critter sheet with all tiny details. I wanted to create a composition of flowers around the baby image and all cute little elements to showcase as well, so created this little scene!
I also added a strip of a corrugated off-white sheet and added strips of pattern papers too, inked all of the pink scrap paper edges with distress ink, with the scissors I slightly distressed the edges too and curled them for more texture and dimension. Love the effect and textures which are giving perfect volume to this beautiful LO!
I matted my baby photo onto a pink sheet and also used a chipboard frame, heat embossed it. I also used some die cut leaves, fussy cut watercolour floral critter sheet to add underneath my photo.
I did some stamping too around my striped paper with some double stitched lines.


For the duo leaves, I used an ink smooshed technique using distress ink and die cut them. Made a cute shaker too with scallop circle dies filled with confetti Sprinklers in Multicolor with a baby bib! Die cut stitched tags also from some patterned papers along with a sentiment banner from the same critter sheet and ties up with a pink twine.

Here are some close-ups:


Then I started to create my layers on the page with lots of flowers and leaves, clouds, rainbows and all the tiny elements I added on scalloped circles with dimension.

I heat embossed one of the clouds using embossing powder for more dimension and realistic look.


The black banner sentiments are from the same critter sheet and giving depth to the image. Added a text chipboard sentiment Dream and heat embossed in pink glitter for textures.
I like the final result and Hoping you also enjoyed too!


To finish it off I added some of the embellishments from my collection to decorate my layout, like a pom-pom frilled lace, crochet flowers, luxury button, prima flowers, a cute dragonfly and few hearts!
This has been a fun collection to work with!

Happy crafting!

Supply list:

Cardstock: Soft pink sheet; texture pink sheet
Cardboard: Kraft 800 gsm
Corrugated sheet: off-white from Itsy Bitsy
 Foam sheet: White
Acetate sheet: Itsy Bitsy
Pattern Papers: Easter time stripe/ Blue from pebbles inc; Precious Petals from Frances Mayer Inc; Love You Madly Bits & Pieces from Glitz Design
Critter sheets: Bundle of Joy Collection and watercolored Florals from DCAM
Dies: Stitched Scallop circles, Stitched Tag 2, Leaves duo from DCAM
Stamp: Stitches from Bo Bunny
Archival Ink: Jet Black
Distress ink: Picked raspberry, apple red
Clear Embossing Ink: Versamark
Embossing Glitter Powders: Sparkling Snow and Magenta Twinkle from Wow
Chippies: Dream sentiment from Studio Calico
Luxury button: CRAFT sensations
 Flowers: Strawberry Kisses set from Prima
Confetti Sprinklers: Multicolor from DCAM store
Baby steps printed cardboard stickers: Hearts, clouds, rainbow, tiny flower from my stash
Crochet flowers, dragonfly, pom-pom frilled lace in white and pink-silver twine: from my stash
Double sided foam tape,  fabric glue, craft glue
Big Shot