Showing posts with label glittery. Show all posts

Thursday, 29 January 2026

Introducing... Stencil - Ink & Flip Butterfly Pattern

 Hello everyone!

Happy Thursday!


Welcome to Day 3: Introducing the Ink & Flip Butterfly pattern, a new Uniko Brand addition!

Let's check today's card. I am excited to showcase my card in rainbow colors and this stencil is a perfect combination. And with a little colour twist, you can create so many versatile cards!


On a white card base, I blended DO inks in rainbow colors using barn door, carved pumpkin, twisted citron, fossilized amber, mermaid lagoon, unhartered mariner, picked raspberry and wilted violet.
Then, I placed my stencil and applied the textured background. I flipped the stencil and added some textures again to create a glittery impact for my butterflies. Then I stamped the beautiful butterfly image in black on the textured BG from the Butterfly Serenade stamp set.
The sentiment is from the same set and heat embossed in Metallic Platinum Sparkle EP on black, and placed in the centre of the card.

For more inspiration, go through at the Uniko blog with my co- ambassadors!


Vinita (me)

Thank you for joining us today, and I hope you will come back tomorrow for the next product introduction. All the products being introduced will be available at 9am GMT on Saturday, 31st January.

Happy crafting!


Friday, 25 March 2022

Spring Spray featuring Taylored Expressions!

 Hello everyone!

Happy Friday!

Are you ready for Spring as I am?

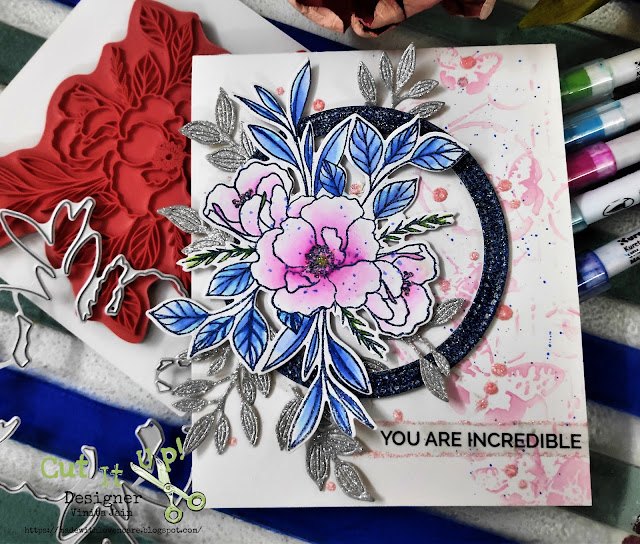
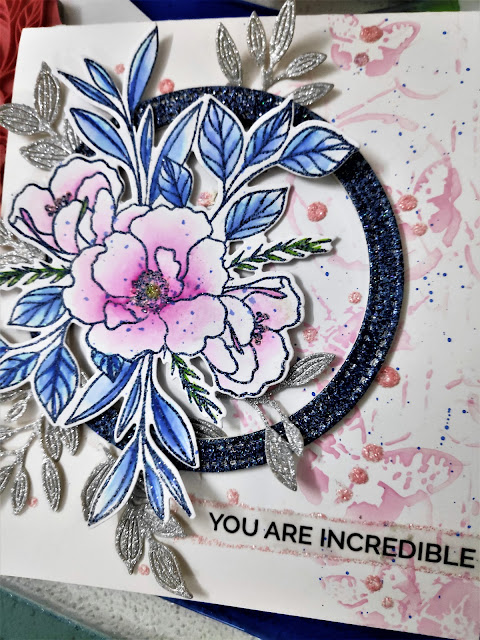
The theme today is Spring at Cut It Up Challenges and sponsored by Taylored Expressions. I absolutely love flowers. Mmmm......one of my favorite things to color and this time I opted for a soft color template!


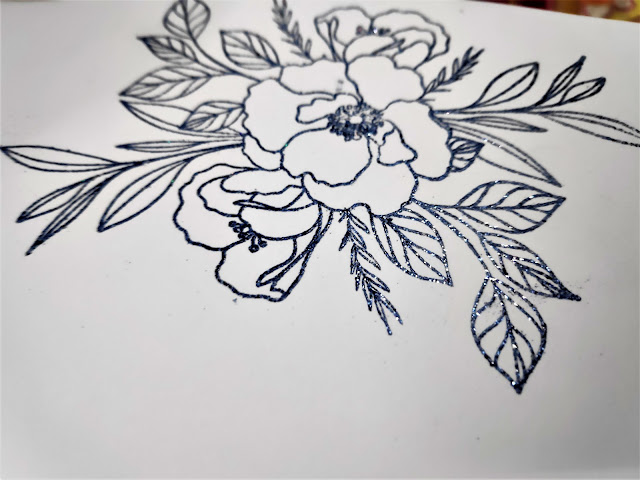
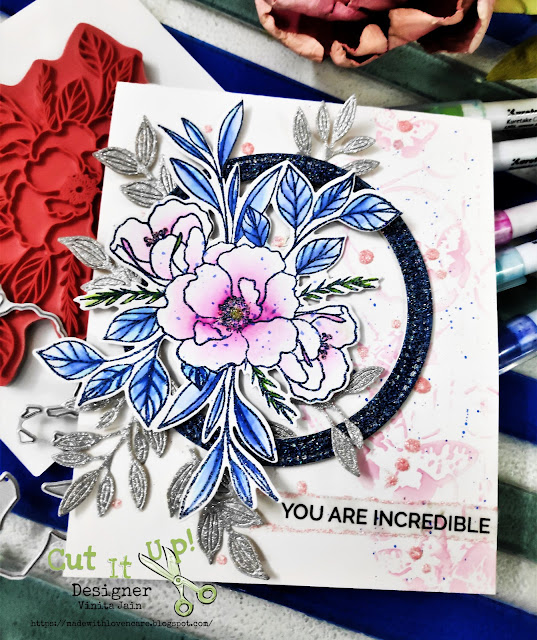
I began with stamping the flower on a white glossy CS and heat embossed it 


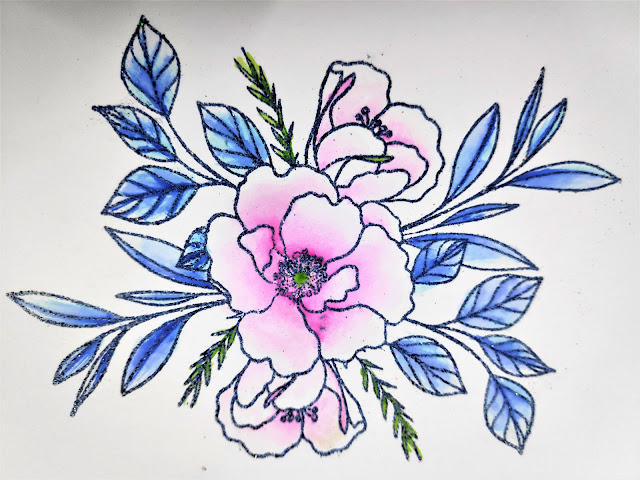
Colored it with my ZIG brushes and the image is cut out with a coordinating die.


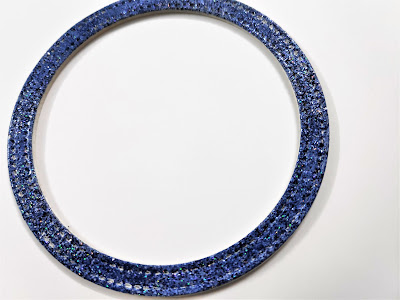
I die cut a double stitched circle 4 times and heat embossed one of the circles using and made a stack.


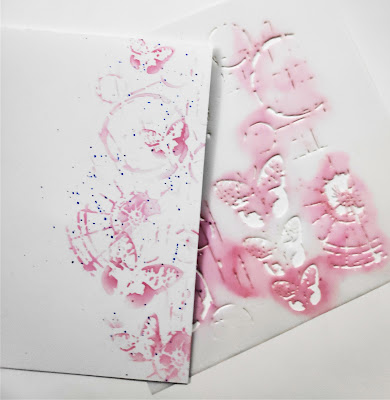
Now on my white CS panel, I stencilled some butterflies and circle specimens using DO.


Now die cut some different leaves out of some snippets of silver glitter sheet. Popped up the circle and arranged the spring floral with silver leaves. And a sticker sentiment is added.


Finished it off with some blue splatters and cotton candy stickles.


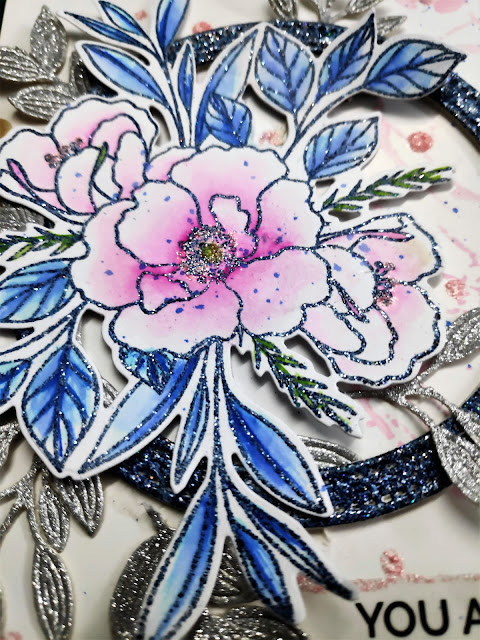
A close-up view above.

Thanks so much for hanging out with me for a bit today!

Happy crafting!

Supply List

Cardstocks: Glossy white CS

Glitter sheet: Snippets of the silver sheets from my stash

Stamp: Spring Spray from Taylored Expressions

Dies: Spring Spray from Taylored Expressions; Double stitched circles from Peek-a-boo designs; Leaves 3 pcs from Little Birdie

Stencil: TCW Rebekah Meier Designs- Mini specimens

Distress Oxide: Kitsch flamingo

ZIG Clear Watercolor brushes

Embossing powder: Midnight dream from Wow

Transparent Sticker sheet: Motivational Sentiments 1 from CrafTangles

Stickles: cotton candy

Would love to join these fun challenges:

https://www.welovestamping.co.uk/2022/03/march-challenge.html

http://sirstampalotchallenge.blogspot.com/2022/03/march-challenge.html

https://pixiessnippetsplayground.blogspot.com/2022/03/challenge-424.html

https://butterflyspotchallenge.blogspot.com/2022/03/168-spin-butterfly-wheel-with-l-for.html- My colors are light pink, lake blue and butterflies

https://www.hndmd.com/articles/craftangles-monthly-challenge-2022-march/


Saturday, 19 March 2022

Cheerful note with spring florals

Hello friends!

Happy Saturday!

The dry embossed backgrounds can create amazing elegant designs! 

I tried to emboss and deboss on the same panel with some decorated flowers!

Do you want to see....... here it is!

I started by flower field embossing folder ( which is discontinued now) on a scrap of the light blue panel. 


Rubbed some Picket fence DI directly on the embossing folder before dry embossed the panel. And after embossing mermaid lagoon DO was used to add a bit of additional color to the embossed areas of the design using a foam brush where I wanted.

If you look carefully at the right-hand side panel is debossed and the left-hand side panel is embossed.

Here is a clear pic: Lok the flowers and see the difference, how beautiful it is!!


Now I die cut some tiny flowers and leaves, watercolored them using my ZIG brushes and created some lines to the flower for some textures using a pointed tool. 


Die-cut the sentiment Just a note from a scrap of silver glittered and white foam sheet.

Now decorated my panel with these flowers and sentiment along with a stitched scalloped frame and tiny butterflies.


Embellished it with some silver gems.


 Hoping you enjoyed it!

Happy crafting!

Supply list

Cardstocks: Blue CS, White CS

Foam sheets: Scraps of Silver glitter and white sheets

Embossing Folder: Flower Field(retired) from Itsy Bitsy

Distress Ink: Picket fence

Distress Oxide: Mermaid Lagoon

Dies: Just a note sentiment from Sizzix; Inverted scallop rectangles from DCAM store; Leaves and tiny flowers are from different -different sets- 3 D flowering tree from Itsy Bitsy, Tiny butterfly from Wild rose studio

Would love to join these fun challenges:

http://allsortschallenge.blogspot.com/2022/03/week-668-feminine.html

https://letssquashit.blogspot.com/2022/03/lets-squash-it-challenge-18-embossdeboss.html

https://butterflyspotchallenge.blogspot.com/2022/03/168-spin-butterfly-wheel-with-l-for.html- I used lettuce, light pink and lake blue color with tiny butterflies.


Wednesday, 24 November 2021

Joy to the world

 Hello everyone!

Happy Thursday!

For this card, I make a cute shaker with a fun deer with Christmas lights around him.


I started with that cute deer image and watercolored only light parts, ears and stags. Fussy cut it.


I die cut holly foliage and watercolored it.


Die-cut a window blind panel out of a white sheet and once from a pastel green glitter sheet. Inserted all the green stripes by taking white die strips.


Here is the pic:


Then I created a shaker panel, stamped the sentiment inside in green, added some fun shaker stars.


Added some glossy accents to the berries and lights for more interest.


I truly enjoyed making it with so much fun!

Happy crafting!

Supply List
Cardstocks: Ultra Smooth white CS from Itsy Bitsy, Textured white CS, Red CS
Glitzy Pastel stack: Glittered CS from itsy bitsy
OHP sheet from Itsy Bitsy store
Foam Sheet: White from Itsy Bitsy
Stamp: Holly Jolly stamp set from Itsy Bitsy
Dies: Window blind die, Stitched squares and Meadow Foliage from Itsy Bitsy
Distress ink: Mawed lawn
ZIG watercolor brushes
Shaker Sprinkels: Stars from Emerald dust set from Itsy Bitsy Store
Glossy accents

Would love to join these fun challenges:
https://stempelgartenchallenge.blogspot.com/2021/11/challenge-110-lieblingsstempel.htm

Monday, 8 November 2021

Merry and Bright

Hello to all!

First I die cut the Centre Burst die out of black CS and used the outline part as a stencil. I placed this stencil on my glossy white sheet. Created a distressed ink background in pink hues by squirting victorian velvet and pink raspberry inks onto my craft sheet and blending them. Then added some water droplets.


After drying added some white splatters.


 I once again die cut my center burst die out of raspberry pink glitter sheet. 


 Placed that outlined piece dies on my stencilled background as shown in the pic. Cut the extra part outside of the panel.

Added that panel to white CS base.


The sentiment is so perfect for the Christmassy feel on it! 
The glitter outlined die .........really made the sun rays sparkle. In the end, tied up a twine around my white panel with a bow. And added some Embellishments.
Happy crafting!

Trinity Products 

Stand Alone Die: Slimline Center Burst Die set from Trinity Stamps

Embellishment Mix: Bubble Blow Out Flat Back from Trinity stamps

Other Products

Cardstocks: White Speciality Glossy CS from DCAM store

Glitter CS: Brights a pack of 24 sheets from Little Birdie

Cardstocks: White Speciality Glossy CS from DCAM store

Glitter CS: Brights a pack of 24 sheets from Little Birdie

Distress Ink: Pink Raspberry, victorian velvet

Stamp: Most Wonderful stamp set from Uniko stamps

Archival Ink: Jet black

Acrylic Paint: snow white from Little Birdie

Twine: baby pink double shade from American Crafts

Would love to join these fun challenges:

http://kaartjes-inspiratie-challenges-blog.blogspot.com/2021/11/kic-start-uitdaging-160-kerst.html

http://craftyhazelnutschristmaschallenge.blogspot.com/2021/11/chnc-challenge-567.html


Friday, 26 February 2021

A splash of purple over black and white!

 Hello!

I have tried something different this time. 

This is my DT post for Cut It Up Challenges with a theme of black and white with a pop of colour!

 I pick purple as an accent colour!

I used Daisy and swirl embossed background and slightly touch up the centre of flowers with DI. 

 Die-cut and intricate and gorgeous butterfly in purple glitter CS. 

Added some fancy borders at the top of my card in black and white with a sentiment on it. In the end for a more feminine look added a pretty dotted shimmery ribbon with a bow. Embellished the flower centre with some white pearls.

I am pleased with the overall design of my card!

Happy crafting!

Supply List

Cardstocks: Whisper White CS, Black CS

Glitter CS: Purple from a pack of 6 by 6 from Little Birdie

Embossing Folder: Daisy and swirls from Itsy Bitsy

Dies: Swirl Butterfly from Memory Box; Borders from Cutplorations

Stamp: Trendy Butterflies 2 from Stamplorations

Distress Ink: Wilted Violet

Dotted shimmery ribbon: light purple

Half adhesive Pearls

Would love to join these fun challenges:

https://davebrethauer.typepad.com/outsidethebox/2021/02/memory-box-challenge-69-pretty-purples.html